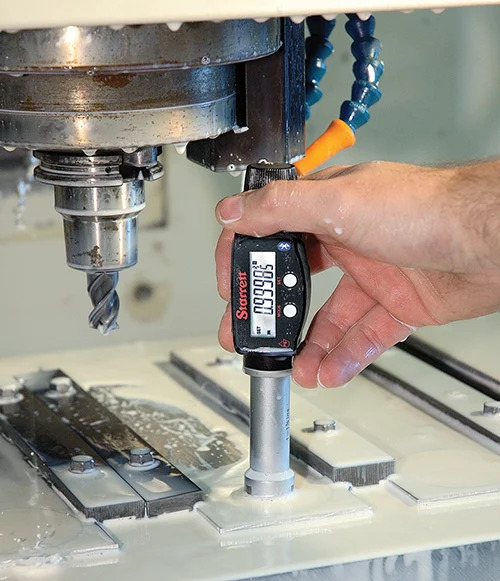
Micrometers and calipers are essential tools in the manufacturing world. They are versatile and cost effective. For many applications, especially those at inspection stations where variety outweighs volume, they are the tool of choice. They also have kept up with technology and the growing needs of data collection, in so far as they have the means to share data wirelessly for collection and part variation.
However, it is not uncommon for part tolerances and the speed of manufacturing to begin showing the limitations of relatively slow measuring speed and operator-intensive needs. Soon it is obvious that other means are needed to ensure part adherence to specification. At that point, it becomes time to stop measuring and start gaging your parts.
Measuring is the slow process of using a tool with a built-in scale to compare the part size to its internal scale. Think micrometers and calipers, which have the measuring system built in. On the other hand, gages compare the part dimension on an instrument that uses an external master as a reference and tells us whether the part is smaller or larger than the master.
Depending on gage characteristics, there is probably one that will meet the versatility, speed and performance required for the dimensional challenge. There are different classes of gages that, based on some of their design characteristics, determine the level of performance of which the gage is capable.
In general, this refers to variable gaging. There are nuances, however, that can really increase a gage’s capabilities.
Let’s start with a variable gage that has been around practically since the invention of the dial indicator. The adjustable bore gage, just as the name notes, can be adjusted to measure different sizes. This gage requires an external master to set its reference against which it compares the part. Once set to its size, a user needs a little skill to rock the gage to find the bore diameter. This skill, combined with today’s digital dial indicators with dynamics, makes the job an easy one to perform. With practice, repeatability to a couple of microns can be achieved.
It is amazing how a simple addition can make a significant improvement to the performance capabilities of a comparative gage. The next step up is an adjustable gage that incorporates a reference stop: an adjustable snap gage. Here again, the name says it all. It is adjustable, and it snaps into place. While the adjustable bore gage requires the user to rock the gage to find the size, a snap gage’s reference stop enables the user to place the gage on the outside diameter and the backstop essentially helps lock it into place. Now there is virtually no operator involvement or influence, and the speed and performance of the measurement increases dramatically. Therefore, a snap gage with its fixed backstop halves the level of performance compared to the adjustable bore gage, and we can be assured that we can gage to 1 micron.
We can then move to the ultimate performer, the fixed variable gage, to make the measuring process even faster and more accurate. It sounds like an oxymoron, but it really is a fixed gage that is manufactured to measure one size, yet still have the ability to make a comparative measurement between a master and the part. These gages include air gaging or mechanical plug gages. Their bodies are made very close to the part size, but they also allow for easy entry to the part while providing enough clearance to minimize centralization error with relatively long comparative range.
Read more: Know the Performance Levels of Your Gages


